Fleur Du Jour

Standard
Fleur Du Jour

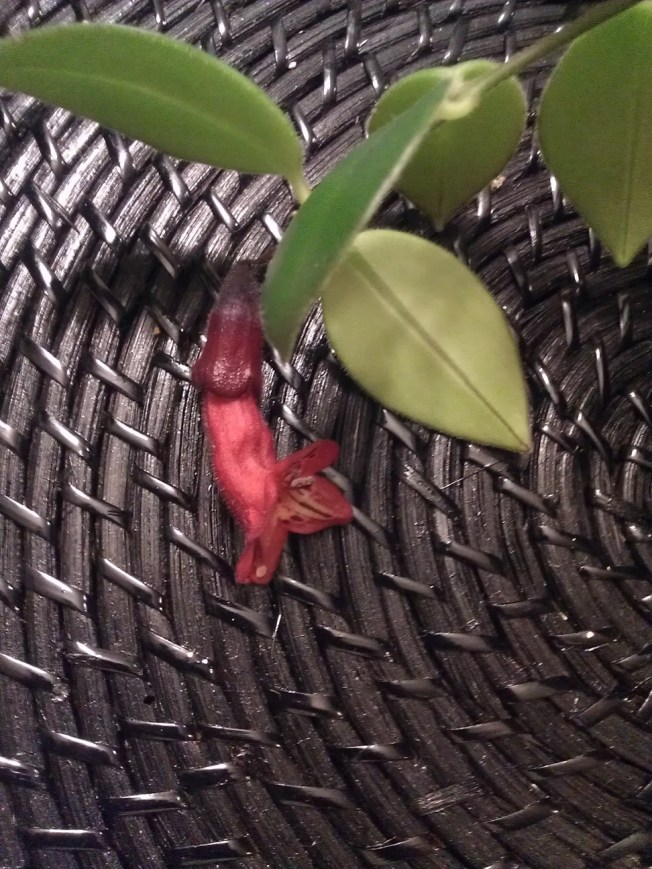
Would you check out this beauty?! Delphinium is quickly becoming my favorite flower! The color variation in the petals is spectacular! Delphinium are perennials grown for their showy flowers and come in various shades of white, pink, blue, & purple. They’re not big fans of hot, dry conditions, so give them a regular drink of water in a cool location, and they’ll reward you!

Can you imagine how AMAZING these would look in a bright, white kitchen?! *swoon*

So…. How have you been?

Standard

I cannot believe it’s been so long since my last post! Life seems to have stolen me away from this little corner of the world. Since my last post I’ve continued to garden, travel, and work (and work, and work, and…). I’m actively involved with the local Master Gardeners as well as  another garden club in my town. With all of that, and my volunteer work, it has almost been a year and a half since I last posted. SMH. Just terrible!

Welp, I’m back and have some fun little projects that I’m working on. I can’t wait to share them with you!


Re-Post: Everyone’s Favorite…Pizza!

Standard

I’ve decided to add a recipe segment to my posts. These will be recipes I have created on my own and some I’ve come across in cookbooks or the internet. What better to start with than a dish everyone loves- pizza! Making pizza from scratch is super easy. There are a ton of recipes to make the dough, but my favorite one comes from The Essential Baking Cookbook. This is my go-to recipe because unlike many others, you DON’T have to let the dough rise overnight. When I get the craving for pizza I want it then and there. This keeps me from caving in and ordering from a pizzeria!


Prep time: 30 minutes +1 hour 30 minutes rising

Total cooking time: 30 minutes

Makes 2 12 inch or 1 17 inch pie

Difficulty level: 1


7g (1/4 oz) sachet dried yeast

3 teaspoons caster sugar

3 1/2 cups (14 oz) White bread flour

1/2 teaspoon salt

1/4 cup (2 fl oz) olive oil

1/3 cup warm water (step 1)

1/2 cup warm water (step 2)


1. Place the yeast, sugar, and 1/3 cup of warm water in a small bowl and stir well. Leave in a warm place for 5 minutes, or until bubbles appear on the surface. The mixture should be frothy and slightly increased in volume. If your yeast doesn’t foam it is dead, so you will have to discard it and start again.


2. Sift the flour and salt into a bowl and make a well in the center. Add the yeast mixture, oil and 1/2 cup warm water and mix together. Add more water if the dough is dry.


3. Gather the dough into a ball and turn out onto a lightly floured surface. Knead for 12 minutes, or until soft and elastic.


4. Place the dough in a lightly oiled bowl and brush over the surface with oil. Cover with plastic wrap or a damp tea towel and leave in a warm place for 1-1 1/2 hours, or until doubled in volume.


5. Punch down the dough. Divide the dough and gently knead on a lightly floured surface into the desired size and shape. Add toppings and bake 375 degrees for 30 minutes, or until full cooked and cheese caramelizes


* To make a classic topping, using a half quantity of pizza dough, roll out to a 12 inch circle. Spread 3/4 cup of bottled tomato pasta sauce over the base. Top with Italian salami, cut into strips. Follow with 2 tablespoons chopped fresh basil, 4 oz of sliced small cap mushrooms, 1 onion, cut into thin wedges, 1/2 green pepper, sliced and 12 pitted black olives. Place 6 anchovy fillets over the top and sprinkle with 5 oz Parmesan cheese.


** I made a vegetarian pizza with black olives, Roma tomato chunks, sliced cap mushrooms. I like everything spicy, so I also added powdered cayenne pepper and crushed red pepper to my pizza sauce. Topped of with Parmesan cheese and garlic powder. It. Was. Awesome! lol


The great thing about pizza is that you can make it your own! Put anything you can think of on it and it always tastes good! Get creative and have fun!


Notes-

You can substitute whole wheat flour for the white flour, but you MUST use the same TYPE of flour. In this case bread flour is used. Ex. 1 cup whole wheat BREAD flour= 1 cup white BREAD flour.

Dough can be frozen up to 3 months.

Re-post: Greetings From the Garden

Standard

Over the last two years I have developed a love of gardening. I completely converted my small backyard into an organic vegetable garden, with peas, potatoes, tomatoes, cucumbers, blueberries, and much more growing side by side. It’s become something of a secret garden!

My goal is to transition into being 100% organic (including body care products). I’ve found that the cheapest, quickest, and easiest way to do it is to grown your own fruits and veggies. Not only do you save tons of money by growing your own foods (you can buy meat and dairy at the organic/farmers market), but it’s also a great workout! Everyday I get a bunch of “visitors” to my garden- butterflies, bees, dragonflies, turtles, and all types of birds (inc. hummingbirds<- my favs!). If you don’t have a yard, you can always look into container gardening, where you grow your plants in planters on terraces or windowsills! There’s nothing like making a meal out of produce you grew yourself!

Fast food

Standard

Sautéed portobellos, red cabbage, carrots, and onion. Sprinkle some liquid aminos and add a pinch of salt, pepper, and red pepper flakes. If you really want to kick it up a notch, you can wrap this in collard green leaves! Yum-mayyy!

Get Churning! Homemade Butter

Standard

Making butter invokes visions of sitting on the front porch of an old farmhouse on a warm summer day churning away. Well, for me at least, it did. But, thanks to modern technology (yay, Kitchenaid!) you really don’t have to do much of anything to create smooth, creamy butter in a matter of minutes.

To make one cup of butter you will need two cups of heavy cream.* Simply, place the cream in the mixer bowl and using the whisk attachment begin to mix the cream. Start on the lowest setting gradually moving up. Be careful, because the cream can splash if you move up too fast! Once the cream forms hard peaks and begins to turn into butter, change to the beater attachment. You will know when to do this because the butter will clump up, leaving buttermilk at the bottom of the bowl. Stop and pour the buttermilk into a container to be used for something else (I use mine to make biscuits). Start mixing again. While the butter is mixing get a glass of ice water and pour a small amount of water into the bowl. After a couple rotations stop and pour the water out. The water will have a milky appearance. Repeat the water step a few times until it runs clear. This will ensure that you have removed all of the buttermilk from the butter. Take a wooden spoon and press down on the butter to squeeze out as much of the water that you can. After you squeeze out all of the water, you’re done! Place the butter into a container and put it in the fridge.

If you want to get fancy you can add various herbs or honey to make flavored butters to use on breads or meats. The process is the same, you just add them after the water has been squeezed out. All in all, the process should take about 5 minutes.

* Heavy cream is the thick, fat-rich part of milk, which rises to the top when milk is fresh and is skimmed off. You can find the cream in grocery stores, farmers markets, and the like. I bought the Giant store brand. It was 1.99 for one pint. The next time I make the butter I will buy the quart size that way I can make a couple batches for just 2 dollars more.